
Introduction
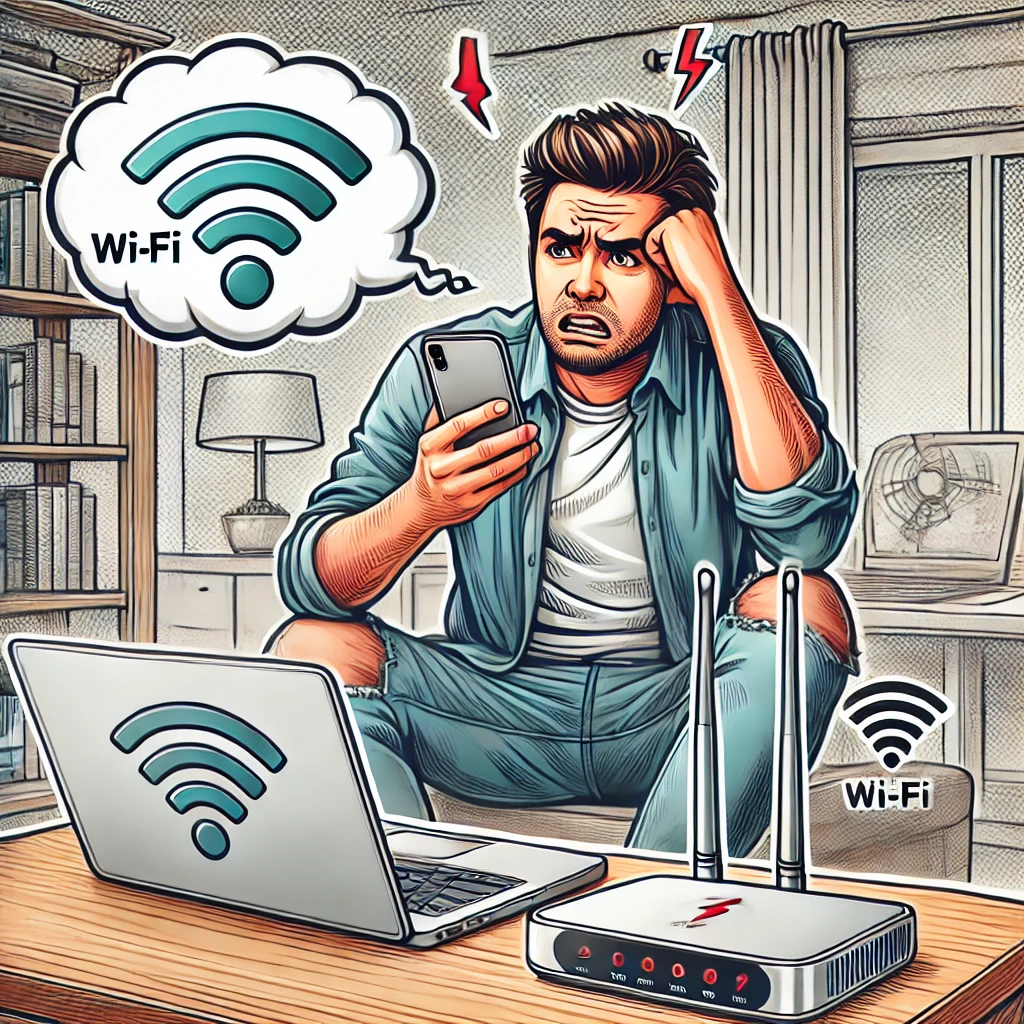
iPhone users often encounter Wi-Fi connectivity issues, causing frustration and inconvenience. Whether for work, streaming, or staying connected, resolving these issues is crucial. This guide will walk you through common causes and actionable solutions to restore your iPhone’s Wi-Fi connection.
1. Confirm Basic Causes of Wi-Fi Issues
Check if the Wi-Fi switch is turned on
Sometimes, the problem arises from a simple mistake, like the Wi-Fi toggle being off. Go to “Settings” > “Wi-Fi” on your iPhone and ensure it is switched on. If it’s already on, try turning it off and on again to refresh the connection.
Restart your iPhone
Restarting your iPhone can clear temporary glitches that disrupt Wi-Fi connectivity. Hold the power button, slide to power off, wait 30 seconds, and turn the device back on.
Restart your modem or router
Your router might be causing the issue. Unplug it, wait a minute, and plug it back in. After rebooting, check if your iPhone connects to Wi-Fi. If not, the issue might lie deeper in your settings or software.
2. Review Network Settings
Forget and reconnect to the Wi-Fi network
If your iPhone is unable to connect, try forgetting the network and reconnecting. Navigate to “Settings” > “Wi-Fi,” tap the info icon next to the network, and select “Forget This Network.” Re-enter your password to reconnect.
Reset network settings
Resetting network settings can fix many connectivity problems. Go to “Settings” > “General” > “Reset” > “Reset Network Settings.” This will delete saved networks, so ensure you have your Wi-Fi passwords noted.
Change DNS settings
Altering DNS settings can help establish a stable connection. Go to “Settings” > “Wi-Fi,” tap the info icon next to your network, and set DNS to “Manual.” Enter public servers like 8.8.8.8 and 8.8.4.4 (Google DNS) or 1.1.1.1 (Cloudflare DNS).
3. Investigate Software or iOS Issues
Ensure iOS is up-to-date
Outdated software can cause Wi-Fi problems. Go to “Settings” > “General” > “Software Update” and check for updates. Install any available updates to address known bugs.
Toggle Airplane Mode
Enabling and disabling Airplane Mode refreshes wireless connections. Open the Control Center, toggle Airplane Mode on, wait a few seconds, then toggle it off.
Test in Safe Mode
Booting into Safe Mode helps identify if a third-party app is causing the issue. Restart your iPhone while holding the volume down button until the Apple logo appears. Test the Wi-Fi connection in this mode.
4. Eliminate Environmental Interference
Test other devices on the same Wi-Fi network
Check if other devices can connect to the Wi-Fi network. If they can, the issue is likely with your iPhone. If no devices connect, the problem may be with the router or ISP.
Check for signal interference
Electronic devices, walls, and appliances can interfere with Wi-Fi signals. Move closer to the router or reduce the number of connected devices. Switching from 2.4GHz to 5GHz can also help.
Optimize router placement
Place your router in a central, elevated location, free from obstructions and electronic devices. For better coverage, consider using a Wi-Fi extender.
5. Explore Advanced Solutions
Contact your ISP or carrier
If the issue persists, reach out to your Internet Service Provider or carrier. They may have insights into outages or technical issues affecting your network.
Reach out to Apple Support
If other solutions fail, Apple Support can diagnose your iPhone. Contact them online or visit an Apple Store for expert assistance.
Perform a factory reset
As a last resort, reset your iPhone to factory settings. Back up your data first. Go to “Settings” > “General” > “Reset” > “Erase All Content and Settings.” Follow the prompts to complete the reset.
Conclusion
Resolving iPhone Wi-Fi issues requires patience and a systematic approach. This guide covered essential steps, from basic checks to advanced troubleshooting. If the problem persists, professional help from your ISP or Apple Support ensures a lasting solution.


Comment