
Introduction
For many people, getting their first iPhone can be both exciting and confusing. This guide is designed to help iPhone beginners navigate through the initial setup, learn essential operations, and explore useful settings. From creating an Apple ID to mastering everyday apps and troubleshooting common issues, this comprehensive walkthrough ensures you can get the most out of your iPhone experience.
1. The First Things to Do When You Get Your iPhone
How to Create and Log in to Your Apple ID
An Apple ID is essential for using all Apple services. To create one, open the Settings app and select “Create Apple ID.” Enter your name, email address, and set a password. Verify your account with the code sent to your email. With your Apple ID, you can access the App Store, iCloud, and more.
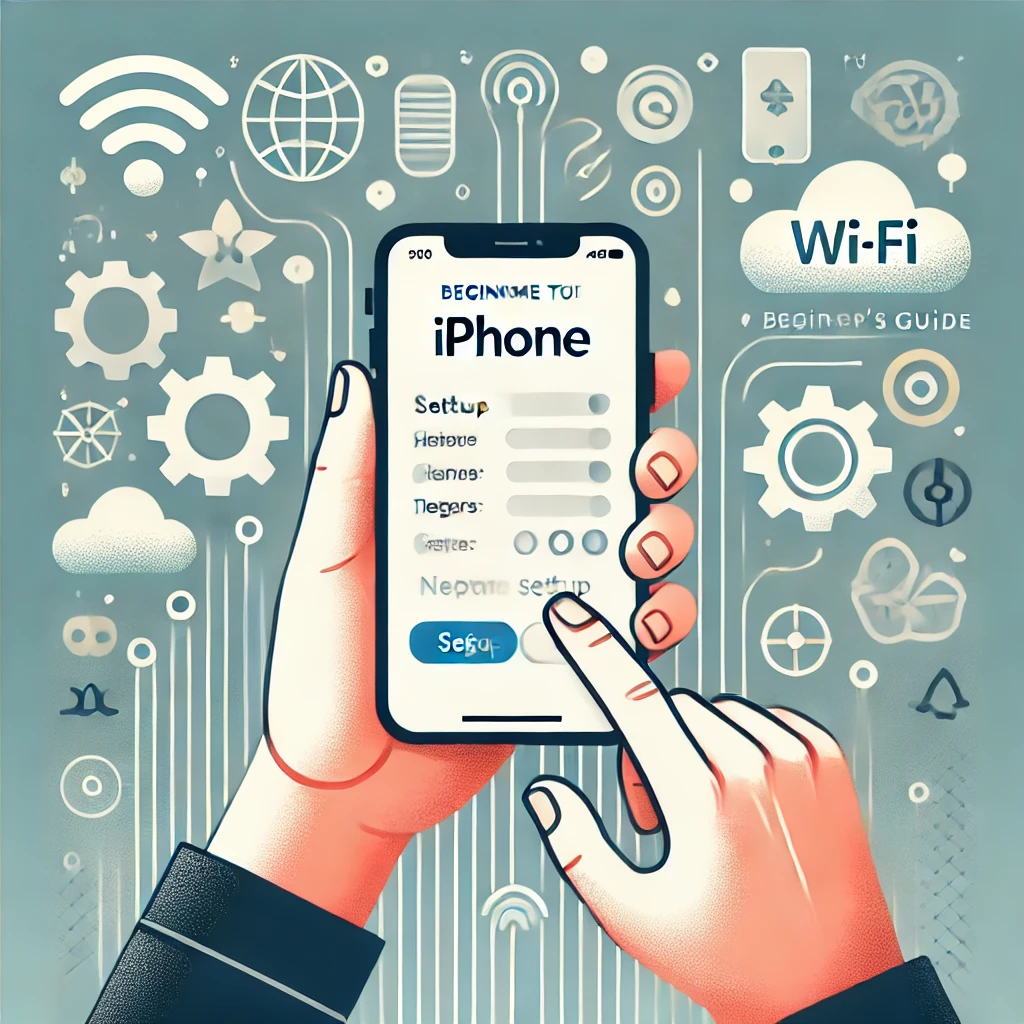
Setting Up Wi-Fi
Wi-Fi is crucial for seamless usage. Go to the Settings app, tap “Wi-Fi,” and select your network. Enter the password to connect. A successful connection is indicated by a Wi-Fi symbol in the top-right corner of your screen. This step helps save mobile data and ensures faster downloads.
Securing Your Screen with Lock Settings
To enhance security, set up screen locks through “Face ID & Passcode” or “Touch ID & Passcode” in the Settings app. Create a passcode and follow prompts to register your face or fingerprint. This prevents unauthorized access to your device.
2. Mastering the Basics of iPhone Operations
Understanding the Home Screen and Apps
The Home Screen is your hub for all apps. Press and hold an app icon to move it or create folders for better organization. Tap to open an app, and swipe up to return to the Home Screen. Getting comfortable with these gestures simplifies daily usage.
Using the Notification and Control Centers
Swipe down from the top-left corner to access the Notification Center, where you can see alerts and messages. The Control Center, accessed by swiping down from the top-right corner, provides quick settings like Wi-Fi, Bluetooth, and screen brightness controls.
Taking Screenshots and Screen Recordings
To take a screenshot, press the side button and volume up button simultaneously. For screen recordings, add the feature to the Control Center via “Settings” > “Control Center.” Then, tap the record button to start capturing your screen activity.
3. Recommended Settings for Beginners
Adjusting Brightness and Night Shift
In “Display & Brightness” within the Settings app, you can adjust brightness manually or enable auto-brightness. Night Shift reduces blue light during evening hours, making it easier on your eyes and promoting better sleep.
Changing Text Size and Font
If you find the text too small, go to “Settings” > “Display & Brightness” > “Text Size” to adjust it. Enable “Larger Accessibility Sizes” for even bigger text, ensuring readability for all users.
Managing Background App Refresh
Background App Refresh allows apps to update even when not in use. To save battery, go to “Settings” > “General” > “Background App Refresh” and disable it for non-essential apps.
4. Making the Most of Built-in Apps
Organizing Your Schedule with Calendar and Reminders
The Calendar app helps you schedule events with ease. To add an event, tap a date and input details. Use the Reminders app to create to-do lists or shopping lists, and set notifications to ensure you never forget a task.
Using the Notes App for Quick Ideas
The Notes app is perfect for jotting down ideas, creating checklists, or saving important details. Add images or drawings to make your notes more comprehensive and visually appealing.
Surfing the Web with Safari
Safari is the built-in browser that provides a smooth internet experience. Use bookmarks to save frequently visited sites and explore Tab Groups to manage multiple browsing sessions efficiently.
5. Troubleshooting Common Issues
What to Do When an App Freezes
If an app stops responding, swipe up from the bottom of the screen to open the App Switcher, then swipe up on the app to close it. If the issue persists, restart your iPhone.
Restarting an Unresponsive iPhone
For an unresponsive iPhone, perform a force restart. On most models, press and quickly release the volume up button, then the volume down button, and finally hold the side button until the Apple logo appears.
Backing Up and Restoring Your Data
Regular backups protect your data. Enable iCloud Backup in the Settings app to automatically save your data. To restore, go to “Settings” > “General” > “Transfer or Reset iPhone” > “Erase All Content and Settings,” then select “Restore from iCloud Backup.”
Conclusion
This guide has covered the essential steps for setting up and mastering your iPhone. From creating an Apple ID to troubleshooting common problems, following these tips ensures you can maximize your device’s potential. With these basics, your journey to becoming an iPhone expert starts now.


Comment