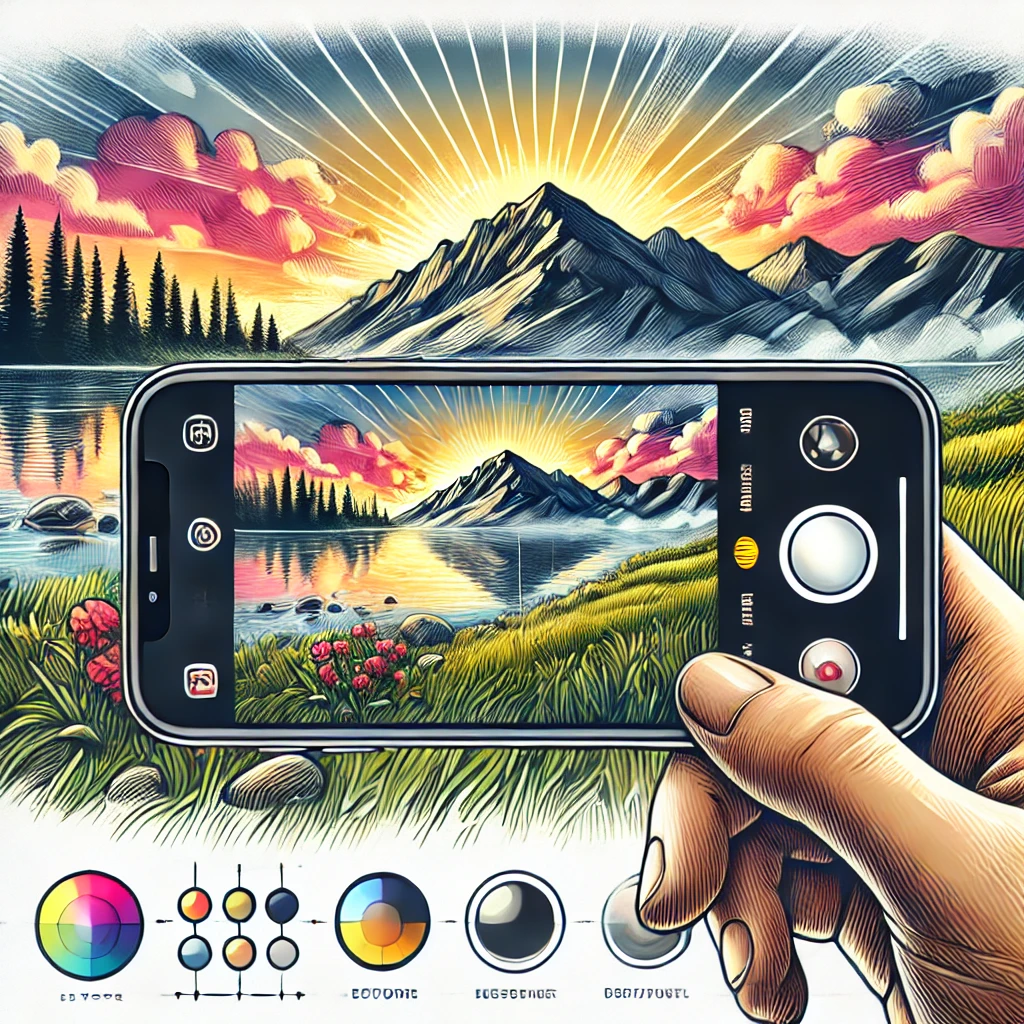

- How to Take Professional Photos with iPhone and Free Editing Tips
- 1. Optimizing iPhone Camera Settings for Best Results
- 2. Basic Rules for Creating Beautiful Photo Compositions
- 3. Photography Techniques for Different Situations
- 4. Basic Editing Techniques with Free Apps
- 5. Advanced Techniques to Enhance Your Photos
- Conclusion
How to Take Professional Photos with iPhone and Free Editing Tips
Introduction
The iPhone is not just a phone; it’s a powerful tool for photography. Whether you are a beginner or an experienced photographer, this guide will help you take professional-quality photos and enhance them using free editing tools. By optimizing your camera settings and mastering key techniques, you can elevate your photography skills to a whole new level.
1. Optimizing iPhone Camera Settings for Best Results
How to Optimize iPhone Camera Settings
To capture the best possible photos with your iPhone, start by adjusting your camera settings. Open the Settings app and navigate to “Camera.” Enable features like “Grid” for better composition and “Smart HDR” for improved image quality in challenging lighting conditions.
For advanced users, options like “ProRAW” and “ProRes” (available on higher-end models) allow you to capture high-resolution photos with enhanced editing flexibility. Experimenting with these features can take your photography to the next level.
Using HDR and Grid Features to Improve Composition
HDR (High Dynamic Range) enhances your photos by balancing the light and dark areas, making it ideal for high-contrast scenes. Enable HDR in your camera settings or let the iPhone automatically decide when to use it. The grid feature divides your screen into nine equal parts, helping you apply the “rule of thirds” for balanced compositions.
For example, when photographing a sunset, align the horizon with one of the grid lines for a more visually appealing shot.
When to Use Live Photos vs. Standard Photos
Live Photos capture a short video around your photo, adding movement and sound. This feature is great for dynamic moments like a busy street or a family gathering. For still scenes, such as landscapes, standard photos often produce sharper results.
For instance, use Live Photos at a concert to capture the atmosphere, but switch to standard mode for a clear shot of a serene landscape.
2. Basic Rules for Creating Beautiful Photo Compositions
Using the Rule of Thirds for Balanced Composition
The “rule of thirds” divides your photo into nine equal sections with two horizontal and two vertical lines. Align your subject along these lines or at their intersections for a more balanced and visually engaging composition.
For instance, when photographing a person, place their eyes along the upper horizontal line to naturally draw the viewer’s attention.
Mastering Light Direction and Intensity
Lighting is crucial in photography. The golden hour, shortly after sunrise or before sunset, provides soft, warm tones ideal for portraits and landscapes. Experiment with different lighting directions, such as side lighting for dramatic shadows or front lighting for even illumination.
For example, position a subject near a window indoors for diffused natural light, creating a professional look without extra equipment.
Choosing a Background to Highlight Your Subject
A clean and uncluttered background enhances your subject. Avoid distractions and opt for neutral or complementary colors. When necessary, use Portrait mode to blur the background and focus on the subject.
For instance, when photographing a person in a park, choose a background of greenery rather than a busy playground to keep the focus on your subject.
3. Photography Techniques for Different Situations
How to Use Portrait Mode for Stunning Portraits
Portrait mode creates professional-looking photos by blurring the background to make your subject stand out. Position your subject about 1-2 meters away from the camera and ensure sufficient lighting for the best results.
For example, capture a friend’s portrait during golden hour with the sun behind them for a soft, glowing effect. Focus on their face for a sharp image with a beautifully blurred background.
Tips for Capturing Night Scenes and Low-Light Shots
Use the iPhone’s Night mode for low-light conditions. Keep the camera steady with a tripod or stable surface and adjust the exposure manually to capture details in shadows and highlights.
For instance, when shooting a city skyline at night, Night mode can bring out the lights while avoiding overexposure. Frame the scene with nearby structures for added depth.
Timing Your Shots for Moving Subjects
Capture moving subjects by using Burst mode, which takes multiple shots in quick succession. Later, select the best frame from the series.
For example, when photographing a dog jumping to catch a frisbee, use Burst mode to ensure you capture the perfect mid-air moment.
4. Basic Editing Techniques with Free Apps
Editing Basics with the Built-in Photos App
The iPhone’s Photos app offers tools for cropping, adjusting brightness, and enhancing colors. Start by tweaking exposure and contrast to make your image pop. Adjust saturation and warmth for better color balance.
For example, brighten a landscape photo and adjust shadows to enhance details for a professional finish.
Using Snapseed for Easy and Effective Corrections
Snapseed is a free app with advanced editing tools. Use the “Tune Image” feature for global adjustments and the “Selective” tool for localized changes. Apply filters to enhance your photo’s mood.
For instance, use Snapseed’s “Portrait” filter to brighten a subject’s face while subtly blurring the background for a polished look.
Enhancing Mood with Filters
Filters can dramatically change your photo’s atmosphere. Use warm filters for a cozy feel or cool filters for a modern look. Experiment to find the right fit for your photo’s theme.
For instance, apply a vintage filter to an old building photo to evoke nostalgia or a vivid filter for colorful landscapes.
5. Advanced Techniques to Enhance Your Photos
Creating Bokeh Effects to Highlight Your Subject
Portrait mode and the depth control slider help create a stunning bokeh effect. Ensure your subject is positioned a few meters from the background to enhance the blur.
For example, focus on a flower with a distant background for a soft and pleasing bokeh effect.
Removing Unwanted Elements with Retouching
Apps like Snapseed and TouchRetouch let you erase distractions such as power lines or litter. Use the healing or clone tools for seamless corrections.
For instance, remove footprints from sand in a beach photo to create a cleaner, more polished look.
Optimizing Photos for Social Media
Crop photos to fit platform formats, such as square for Instagram or 16:9 for landscapes. Align subjects using the rule of thirds for a professional look.
For example, highlight a landmark in a travel photo by cropping to focus on the central subject while minimizing distractions.
Conclusion
iPhone photography is an art that combines technique and creativity. By mastering camera settings, composition, and editing tools, you can create professional-quality photos. Experiment with lighting, angles, and post-processing to find your unique style. With practice, your photos will not only capture moments but tell compelling stories.


Comment